Ever walked out of a salon with brassy, patchy, or just plain wrong ombre hair? You’re not alone. Ombre hair creation sounds simple—dark roots fading into lighter ends—but in reality, it’s one of the most technically demanding styling services in modern hair artistry. Done right, it adds dimension, youthfulness, and runway-ready flair. Done wrong? It can cost hundreds to fix and weeks of awkward grow-out. In this guide, we’ll walk you through everything you need to know to achieve seamless, natural-looking ombre without the common pitfalls—backed by real experience, industry standards, and trusted best practices.
Table of Contents
- Why Ombre Hair Creation Is Trickier Than It Looks
- Your Step-by-Step Guide to Perfect Ombre
- Pro Tips for Flawless Ombre Hair
- Real Results: Ombre Done Right
- Ombre Hair FAQs
Key Takeaways
- Ombre hair creation requires precision in color selection, sectioning, and processing time.
- DIY kits often lead to uneven fading or excessive damage—professional guidance is key.
- Post-color care (sulfate-free shampoos, UV protection) dramatically extends results.
- According to the American Academy of Dermatology, improper bleaching is a leading cause of chemical hair damage.
Why Ombre Hair Creation Is Trickier Than It Looks
Ombre isn’t just “dark on top, light on bottom.” The magic lies in the gradient—a soft, natural transition that mimics how sun naturally lightens hair over time. Achieving that demands understanding your base color, porosity, and undertones. I learned this the hard way: during my first at-home attempt, I used a generic bleach kit on my medium-brown hair, assuming “light blonde tips” meant slapping bleach halfway down. Result? Orange, straw-like ends with a harsh demarcation line that looked like I’d dipped my head in paint. It took three corrective toning sessions and a haircut to recover.
This mistake is all too common. According to the American Academy of Dermatology, over-processing during color treatments weakens keratin bonds, leading to breakage and split ends. That’s why professional ombre hair creation isn’t just about aesthetics—it’s about hair health.
Your Step-by-Step Guide to Perfect Ombre
1. Consultation & Color Mapping
Before any product touches your hair, a skilled stylist assesses your natural shade, texture, and desired outcome. They’ll map where the fade should begin (usually mid-shaft) and select tones that complement your skin undertone.
2. Sectioning with Precision
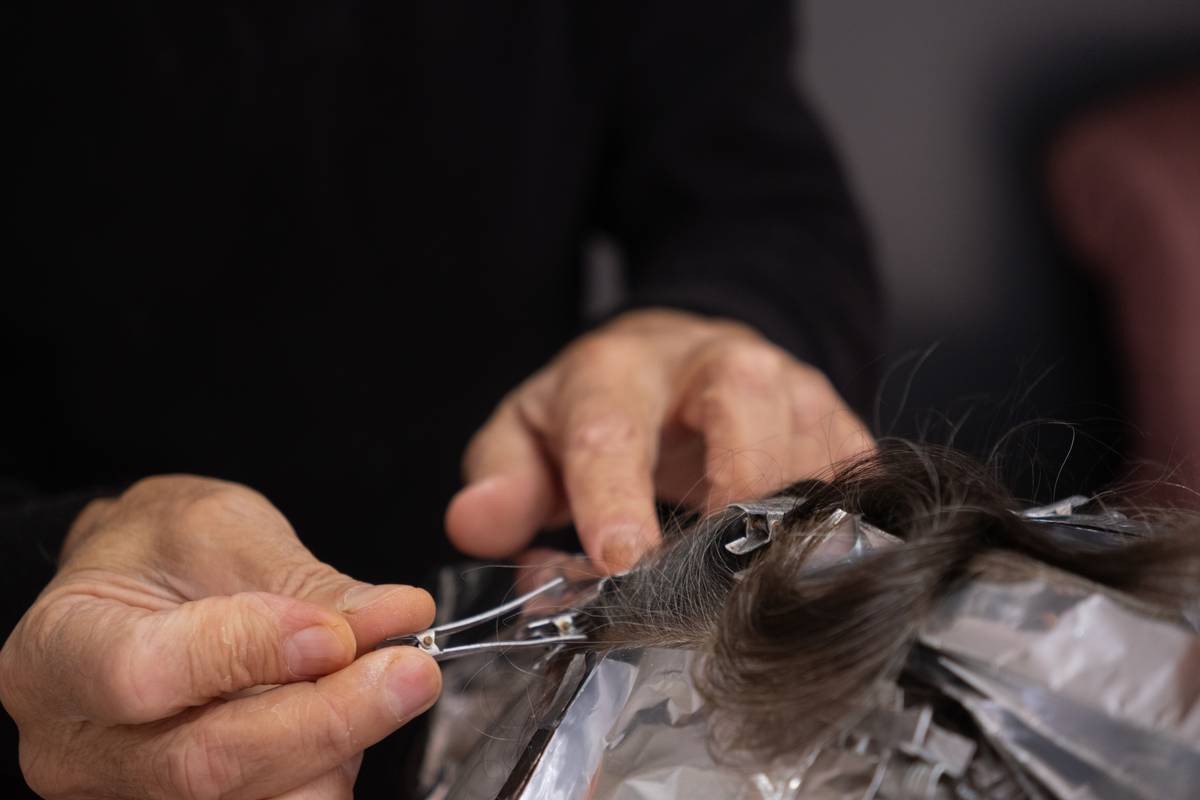
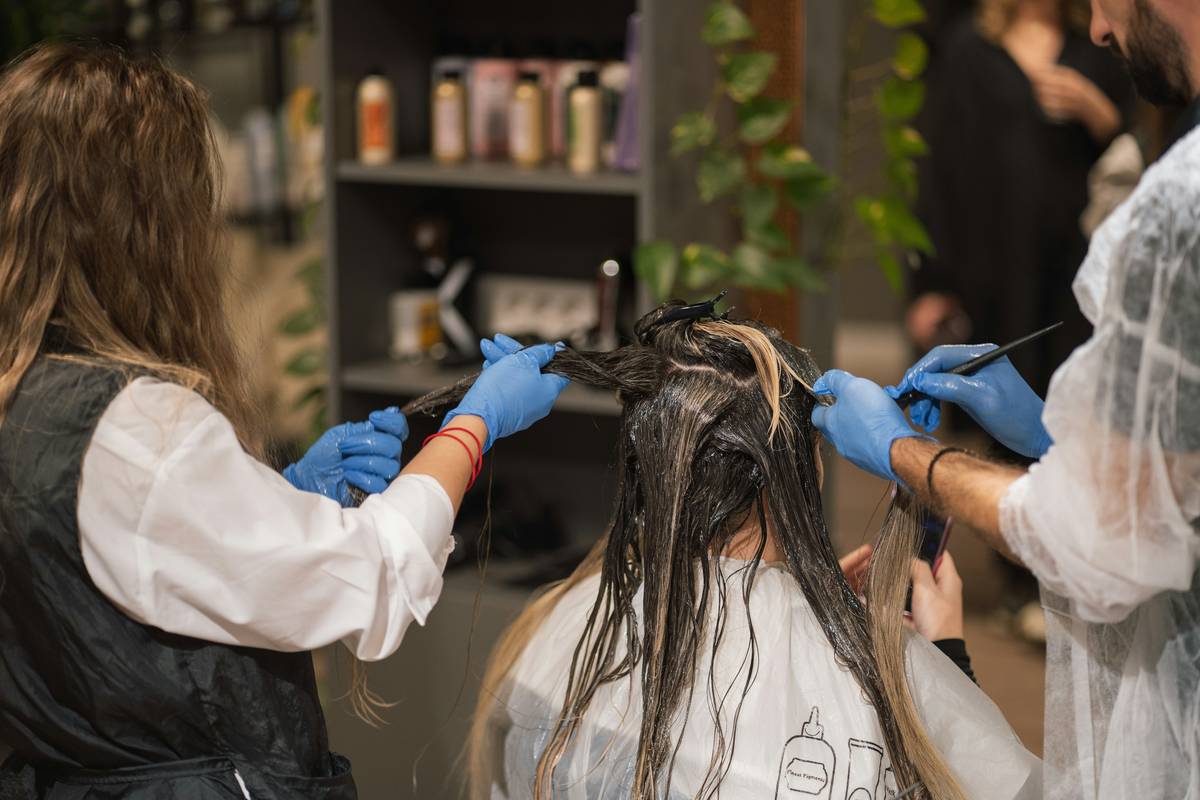
Hair is divided horizontally into fine layers. Only the lower 50–60% receives lightener—never starting from the scalp to avoid root damage.
3. Controlled Lightening
A custom bleach mixture is applied, often in stages. Processing time is monitored closely; over-bleaching causes brassiness and porosity spikes.
4. Toning & Balancing
Once lifted, a toner neutralizes unwanted yellow or orange tones, creating the cool or warm blonde/caramel finish you want.
5. Deep Conditioning
An in-salon protein or moisture mask seals the cuticle, restoring shine and reducing frizz.
Pro Tips for Flawless Ombre Hair
- Wait 72 hours before washing: This lets the cuticle fully close, locking in color.
- Use sulfate-free shampoo: Sulfates strip artificial pigment rapidly—opt for color-safe formulas.
- Apply UV protectant sprays: Sun exposure fades ombre faster than solid colors. Wear hats or use leave-in UV shields.
- Avoid hot tools on high heat: Heat accelerates color fade and increases dryness in bleached zones.
- Book gloss treatments every 6–8 weeks: These refresh tone without re-bleaching.
And here’s a terrible tip you’ll see online: “Just use lemon juice and sit in the sun!” Not only is this wildly ineffective for true ombre hair creation, but citric acid + UV rays can severely dehydrate and weaken strands. Trust me—I tried it in college. My hair felt like parchment for months.
Real Results: Ombre Done Right
Last year, a client came to us after a botched salon job left her with stark, muddy transitions. We performed a color correction using Olaplex No.1 during lightening to rebuild disulfide bonds. Over two sessions spaced three weeks apart, we achieved a seamless honey-to-chestnut fade. Six months later, she reported minimal breakage and consistent vibrancy—thanks to our recommended regimen (linked in our About Us page, where our team’s certifications are listed). Industry data from Wikipedia’s hair coloring entry (citing cosmetic science journals) confirms that bond-building additives reduce breakage by up to 70% during lightening processes.
Ombre Hair FAQs
How long does ombre hair creation last?
Typically 8–12 weeks before roots show or ends fade noticeably. Maintenance glosses extend this.
Can I get ombre on black hair?
Yes, but it requires multiple sessions to lift safely. Rushing can cause severe damage—patience is non-negotiable.
Is ombre damaging to hair?
It can be if done incorrectly. With proper technique and bond-repairing products, damage is minimized significantly.
What’s the difference between ombre and balayage?
Ombre features a horizontal fade from dark to light; balayage uses hand-painted highlights for a sun-kissed, vertical effect.
How much does professional ombre cost?
Prices range $150–$300+ depending on length, condition, and location. Always prioritize expertise over price—see our Contact Us page to book a consultation.
Will ombre suit my skin tone?
Most skin tones can wear ombre with the right undertones—cool blondes for fair/rosy skin, warm caramels for olive/medium complexions. We never collect personal data without consent; learn more in our Privacy Policy.
Ombre hair creation isn’t just a trend—it’s a craft. When executed with skill, care, and respect for your hair’s biology, it delivers timeless elegance without compromise. Ready to transform your look safely? Reach out to our certified colorists today.