Want that sun-kissed, effortlessly cool gradient from roots to ends? Most ombre hair styling attempts end in patchy transitions, brassy tones, or fried strands. And salon visits can cost a fortune—with no guarantee of longevity. Here’s how to get it right the first time: strategic color placement, smart product choices, and one counterintuitive trick pros won’t advertise.
Why Most Ombre Hair Styling Efforts Fail Miserably
DIY kits promise salon results but rarely deliver seamless fades. The problem isn’t just technique—it’s timing, porosity mismatch, and ignoring how light *actually* hits layered strands. And even trained colorists sometimes over-process lower sections, creating a harsh line instead of a soft melt.
Ombre isn’t just “dark on top, light below.” It’s about dimension. Without understanding undertones or hair’s natural fall, you’ll get flat, two-dimensional results that look painted—not grown.
ombre hair styling: Your Foolproof Step-by-Step Blueprint
Forget cookie-cutter tutorials. This method prioritizes hair health *and* visual depth. Start with a strand test—always. Then map your sectioning based on face shape, not Instagram trends.
Selecting the Right Base and Target Tones
Your natural base dictates everything. Cool brunettes need ash blondes to avoid brass; warm bases pair with golden or caramel highlights. Never lift more than three levels at once without bond builders.
Sectioning Like a Pro (Not a YouTube Influencer)
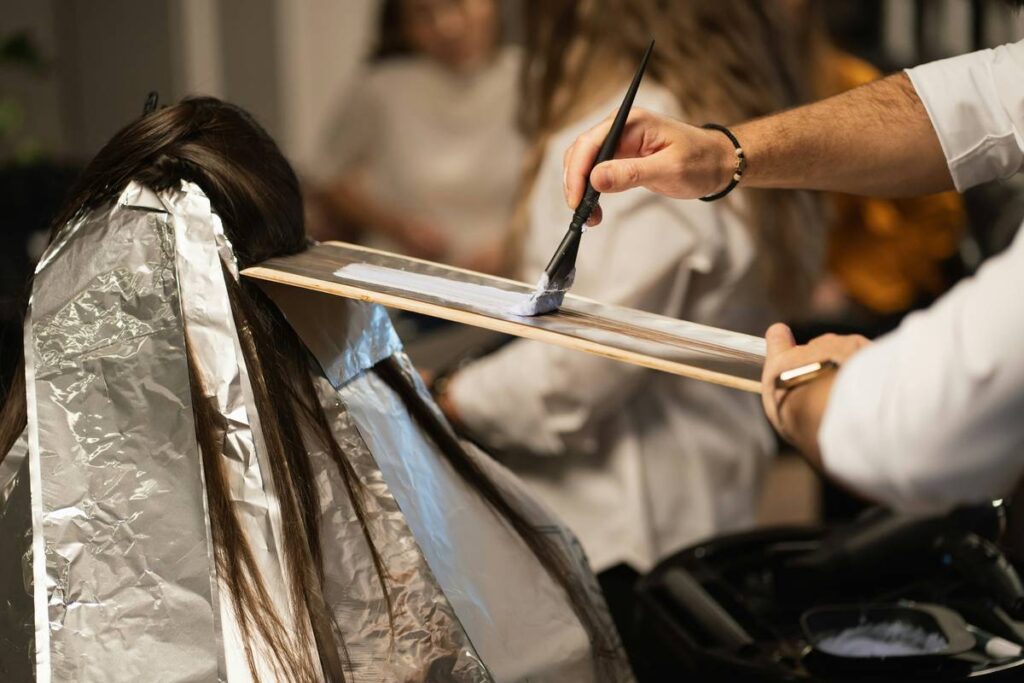
Divide hair into four quadrants—but isolate the perimeter last. Why? Because those front pieces frame your face. They deserve precision, not rushed backcombing. Use diagonal forward sections for movement; horizontal slices kill flow.
Application Timing & Developer Choice
Lower sections process faster—they’re exposed longer. Start application 1–2 inches above where you want the blend to begin. Use 20-volume developer max for virgin hair; 30 only if pre-lightening is absolutely necessary.

| Method | Cost Range | Longevity | Damage Risk |
|---|---|---|---|
| At-Home Kit | $15–$40 | 4–6 weeks | High (uneven lift, breakage) |
| Salon Balayage-Ombre Hybrid | $120–$250 | 10–14 weeks | Moderate (with proper aftercare) |
| Professional Foil + Freehand Blend | $180–$320 | 12–16 weeks | Low-Moderate (when done by expert) |
The Industry Secret: It’s Not About Lightening—It’s About Shadow
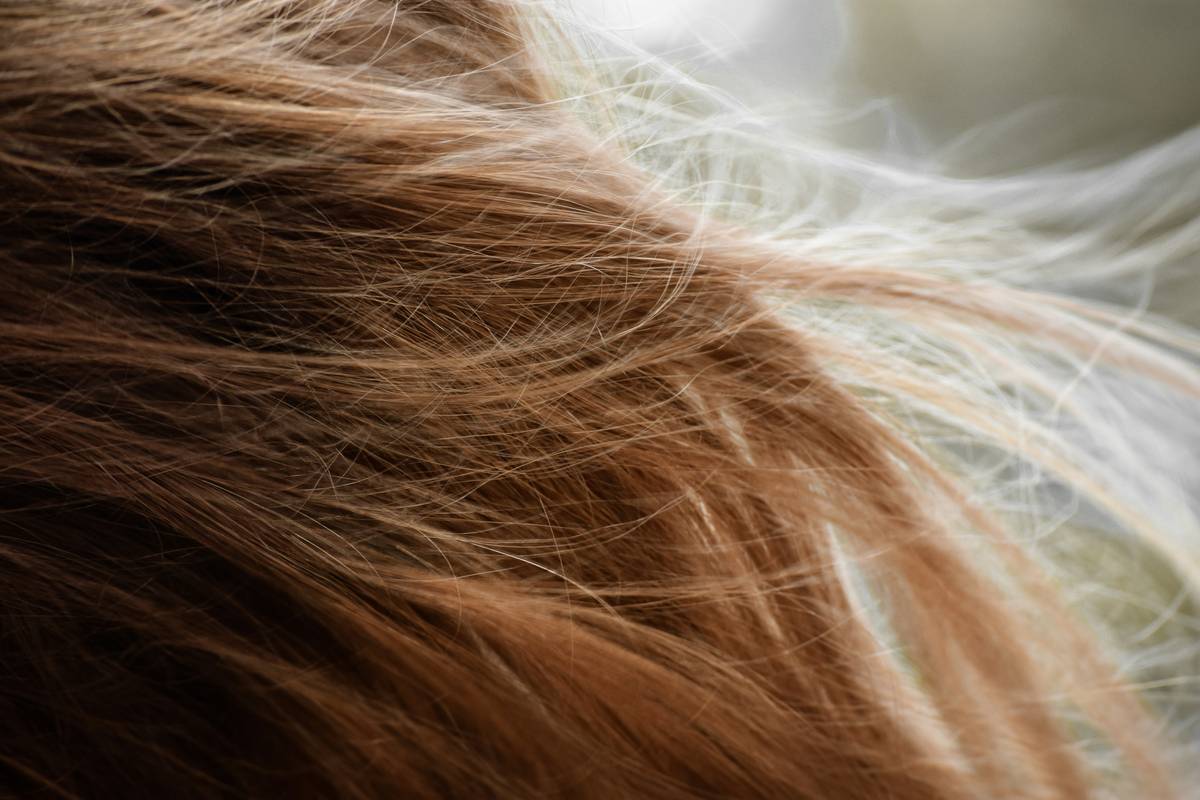
Here’s what most stylists won’t tell you: true ombre magic lives in the *mid-lengths*, not the ends. A flawless fade relies on subtle shadow roots and mid-tone weaving—not just blasting the bottom half with bleach. I’ve seen clients achieve better results with 30% less lightener by adding a demi-permanent toner in the mid-section to create optical depth. Think of it like contouring your hair. Light catches where you want attention; shadow recedes where you don’t. And—yes—this works even on previously colored hair if you prep with a chelating wash first.
FAQ
How long does ombre hair styling last?
Typically 10–14 weeks, depending on grow-out rate and maintenance. Root regrowth stays hidden longer than full highlights because the dark-to-light transition buffers the line.
Can you do ombre on short hair?
Absolutely—but it requires tighter sectioning and a lighter hand. Pixie cuts and bobs often use “reverse ombre” (lighter at roots) for modern edge.
Does ombre damage your hair?
Only if over-processed. Using bond-building additives and limiting bleach to lower thirds keeps integrity intact. Deep conditioning post-service is non-negotiable.