Few trends promise instant dimension like the ombre hair look—yet so many end up with brassy, damaged ends or a harsh line of demarcation that screams “DIY disaster.” The problem isn’t the style; it’s how it’s executed. And most tutorials skip the one thing that actually preserves hair integrity while delivering seamless gradient magic.
Why Most Ombre Attempts Fail (Spoiler: It’s Not Just Technique)
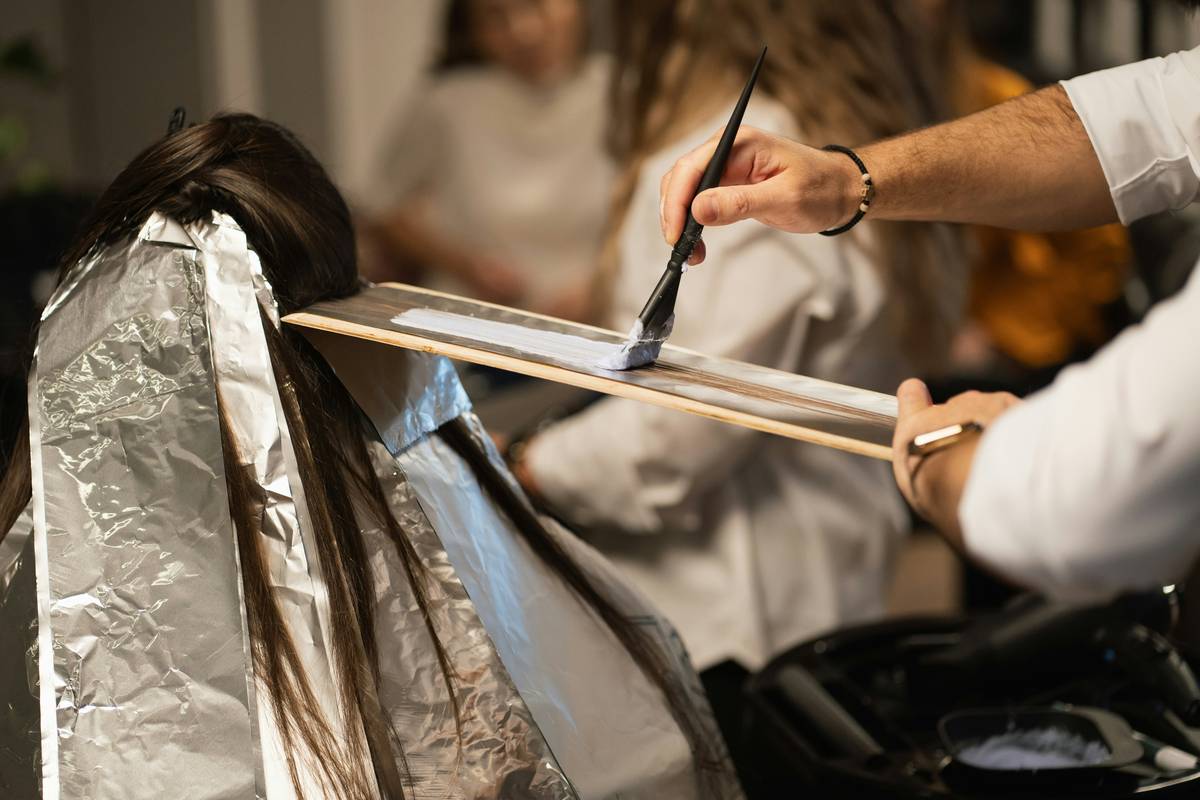
Salons and YouTube videos push bleach-heavy formulas because they deliver fast results. Fast—but not sustainable. Bleach strips keratin, swells the cuticle, and leaves hair porosity uneven across lengths. That’s why your roots might hold tone beautifully while mid-lengths turn muddy and ends fry into straw. The real issue? No one accounts for baseline hair health before lightening.
And if you’ve ever walked out of a salon with orangey tips that refuse to tone? That’s not bad timing—it’s poor pigment mapping. Melanin distribution varies wildly from scalp to tip, especially on previously colored hair.
Step-by-Step Guide to a Flawless Ombre Hair Look
Pre-Treatment Assessment: Know Your Starting Point
Before touching bleach, evaluate your hair’s elasticity, porosity, and existing color history. Use the wet stretch test: if strands snap instead of stretching, postpone lightening. Healthy hair stretches 30–50% before breaking. If yours doesn’t? Deep condition for two weeks first.
Sectioning Strategy That Prevents Harsh Lines
Forget blunt horizontal sections. Divide hair into vertical wefts starting 2–3 inches below the chin. This mimics natural sun-kissed growth patterns. For fine hair, start lower (4+ inches down). Thick or curly textures can begin higher—density diffuses contrast better.
Lightening Protocol: Less Is More
Use a 20-volume developer max unless lifting more than four levels. Mix in Olaplex No.1 at a 1:1 ratio with bleach—not as an afterthought, but baked into the formula. Process in 5-minute increments under indirect heat. Stop when hair reaches pale yellow—not white. Overprocessing destroys the canvas you need for toning.

Toning & Blending Secrets
Apply demi-permanent toner only to lightened zones—never all over. Choose violet-based ash for cool ombres; gold-beige hybrids for warm. Then, emulsify a pea-sized amount of conditioner with leftover toner and comb through the transition zone. This creates a soft gradient buffer, not a hard stop.
| Method | Cost Range | Longevity | Risk Level |
|---|---|---|---|
| Full bleach + toner (salon) | $120–$250 | 8–10 weeks | High (if pre-damaged) |
| Balayage ombre blend | $150–$300 | 10–12 weeks | Medium (gradual lift) |
| At-home gloss kits | $20–$45 | 4–6 washes | Low (no lift) |
| Root shadow + pre-lightened ends | $90–$180 | 6–8 weeks | Low-medium |
The Industry Secret: Reverse Ombre Maintenance
Here’s what colorists won’t tell you: traditional ombre fades into dullness because regrowth exposes untreated dark roots against faded light ends. But flip the script. After your first full ombre, maintain it with reverse touch-ups: apply a low-lift lightener only to new growth, then blend downward using a dry-brush technique with toner-moistened bristles. This gradually extends the lightened zone upward—preserving the gradient without re-bleaching fragile ends. The math is simple: less overlap = less breakage. And your color stays dimensional for months longer.
Frequently Asked Questions
Can I get an ombre hair look on black hair?
Yes—but expect two sessions. Black hair has dense eumelanin. Lift slowly to avoid breakage. Never jump from level 1 to 8 in one go.
How often should I tone my ombre hair?
Every 3–4 washes with a purple/blue shampoo if cool-toned. Warm ombres need gold-enhancing conditioners weekly to prevent ashiness.
Does ombre damage hair more than highlights?
Only if done poorly. Ombre concentrates lightening on ends (already most damaged), while highlights slice through healthier mid-lengths. Properly executed, ombre is gentler.