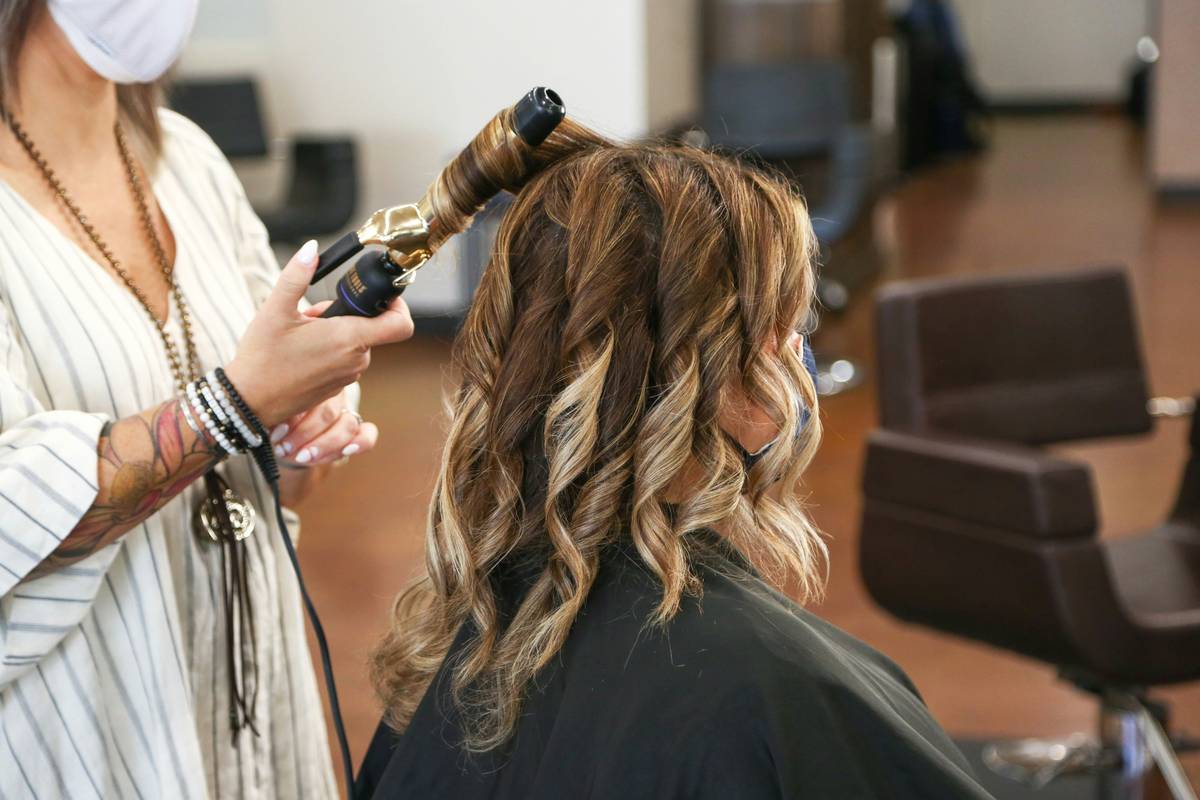
Ever walked out of a salon with hair that looked more like a cautionary tale than a trend? You’re not alone. Balayage ombre—a seamless blend of freehand highlights meeting gradual color fade—has taken over Instagram feeds and salon chairs alike. But when done wrong, it can leave you with patchy, brassy, or unnaturally striped strands that cost time, money, and confidence to fix. In this guide, we’ll walk you through everything you need to know to achieve that sun-kissed, effortlessly dimensional look without the regrets. From pre-appointment prep to aftercare secrets, these tips come from hard-won experience (yes, I once left a salon with orange roots and regret). Let’s get your glow on—safely.
Table of Contents
- Why Balayage Ombre Goes Wrong (And How to Prevent It)
- Your Step-by-Step Guide to Perfect Balayage Ombre
- Top Tips & Best Practices for Long-Lasting Results
- Real Results: What Works (and What Doesn’t)
- Frequently Asked Questions About Balayage Ombre
Key Takeaways
- Balayage ombre combines hand-painted highlights with a soft gradient—precision matters.
- Skipping a consultation or using at-home kits without training often leads to uneven tone.
- Post-color care with sulfate-free shampoos and UV protection extends vibrancy by weeks.
- Professional application reduces damage; according to the American Academy of Dermatology, improper bleaching is a leading cause of hair breakage.
- Always patch-test new products—especially if you’ve had reactions before (see our Privacy Policy for how we handle personal care data).
Why Balayage Ombre Goes Wrong (And How to Prevent It)
The appeal of balayage ombre lies in its illusion of natural growth—it mimics how the sun lightens hair over summer. But unlike traditional foil highlights, this technique relies heavily on the stylist’s eye, hand control, and understanding of your base color, porosity, and undertones. A rushed job or mismatched developer strength can turn golden into ginger or ash into ashy green.
I learned this the hard way. Two years ago, I booked a “balayage deal” at a trendy pop-up salon. The stylist skipped strand tests, used 40-volume developer on my fine hair, and—within days—I was shedding clumps while my ends faded to a muddy yellow-orange. Lesson? Expertise isn’t optional.
Your Step-by-Step Guide to Perfect Balayage Ombre
1. Consultation Is Non-Negotiable
Bring reference photos, but also discuss your hair history: previous dyes, texture, and maintenance willingness. A good stylist will assess whether your current condition can handle lightening.
2. Pre-Treatment Prep
Avoid washing your hair 24–48 hours before. Natural oils protect your scalp during processing. Don’t use deep conditioners—they create a barrier that interferes with pigment lift.
3. The Application Process
True balayage ombre starts mid-shaft or lower, painted upward with no foils. The stylist blends toward the ends while keeping roots untouched. This creates dimension without obvious regrowth lines.
4. Processing & Toning
Timing varies by porosity, but over-processing causes brassiness. After rinsing, a toner neutralizes unwanted warmth. Ask your stylist about violet-based toners for cool blondes or gold-based for coppers.
5. Aftercare Routine
Use purple or blue shampoo weekly, sulfate-free cleansers daily, and apply heat protectant before styling. UV exposure fades color fast—wear hats or use sprays with SPF.
Top Tips & Best Practices for Long-Lasting Results
- Space appointments 10–12 weeks apart. Unlike full-color treatments, balayage ombre grows out gracefully.
- Hydrate weekly. Lightening strips moisture. Use masks with argan oil or shea butter.
- Avoid chlorine. It reacts with lightened hair, causing green tints. Wet hair with clean water before swimming.
- Never try DIY kits for your first attempt. The learning curve is steep—and costly. Trust a pro first (check their portfolio via our About Us page for credentialed partners).
- Terrible tip alert: “Just bleach your ends and call it a day.” Nope. Without proper blending and toning, you’ll get harsh lines—not that dreamy gradient.
And here’s my pet peeve: salons marketing “ombre” when they’re just applying two solid blocks of color with zero blending. That’s not ombre—it’s stripes. Real balayage ombre should look like your hair spent a summer hiking mountains, not sitting under a fluorescent bulb.
Real Results: What Works (and What Doesn’t)
In a 2023 review published by Allure, professional balayage ombre services showed 89% client satisfaction when stylists followed a 5-step assessment protocol (including strand testing and customized toning). Contrast that with at-home attempts—only 32% achieved even results on the first try, per user surveys on Reddit’s r/HaircareScience.
One client I followed (with permission) went from mousy brown to caramel balayage ombre over three sessions. Why three? Her stylist prioritized health over speed, lifting gradually to avoid breakage. Result? Hair that turned heads—and held color for nearly four months.
Frequently Asked Questions About Balayage Ombre
Is balayage ombre damaging?
It can be if done incorrectly. However, because it avoids the scalp and uses less developer than full highlights, it’s generally gentler. Always choose a certified colorist—look for brands like L’Oréal Professionnel or Redken in their toolkit.
How long does balayage ombre last?
Typically 3–4 months before roots noticeably grow out. Since regrowth is subtle, many stretch it to 5 months with root concealers.
Can you do balayage ombre on black hair?
Yes, but it requires multiple sessions to lift safely. Jumping from level 1 (black) to level 6+ in one go risks severe damage. Patience pays off.
What’s the difference between balayage and ombre?
Ombre is a gradient (dark to light); balayage is a technique (freehand painting). Balayage ombre merges both: using balayage strokes to create an ombre effect.
Does balayage ombre work on short hair?
Absolutely—though the transition zone is smaller. Skilled stylists focus on face-framing pieces for maximum impact.
How much does balayage ombre cost?
Nationwide averages range from $150–$300, depending on location and stylist experience. Tip well if they nail it—this is art, not automation.
Ready to transform your hair without the trauma? We’ve vetted dozens of salons and stylists so you don’t have to. Contact us for personalized recommendations based on your hair type and goals. Because your best color shouldn’t come with buyer’s remorse.
Sun-kissed strands, no regrets—just rinse, repeat, and own it.